Printing a selected area in a PDF file means printing only a portion of the PDF page, not the entire page.
Sometimes, PDF files contain a large amount of single-page information. However, in many cases, you only need to print a small portion of it, such as paragraphs, tables, or images. Printing the entire page is inconvenient and consumes unnecessary paper and ink.
Therefore, mastering how to print a selected area in a PDF file is a practical and useful skill that can help you save resources and improve efficiency.
How to print selected area in PDF online and offline? Here are the methods.
Method 1: Via MiniTool PDF Editor
MiniTool PDF Editor is a feature-rich, professional PDF tool with the Print PDF feature. It can help you print PDFs with just a few clicks.
As a comprehensive PDF tool, it meets most of your PDF needs. It allows you to easily create, split, merge, convert, edit, annotate, and manage PDFs.
For enhanced security, you can password-protect your PDFs. You can also add hyperlinks/watermarks/dynamic stamps/images to PDFs.
Download, install, and launch MiniTool PDF Editor on your computer. Then, follow the steps below to print selected area in PDF.
MiniTool PDF EditorClick to Download100%Clean & Safe
Option 1. Use the Crop Feature
To print a selected area in PDF, one method is to crop the PDF first and then print.
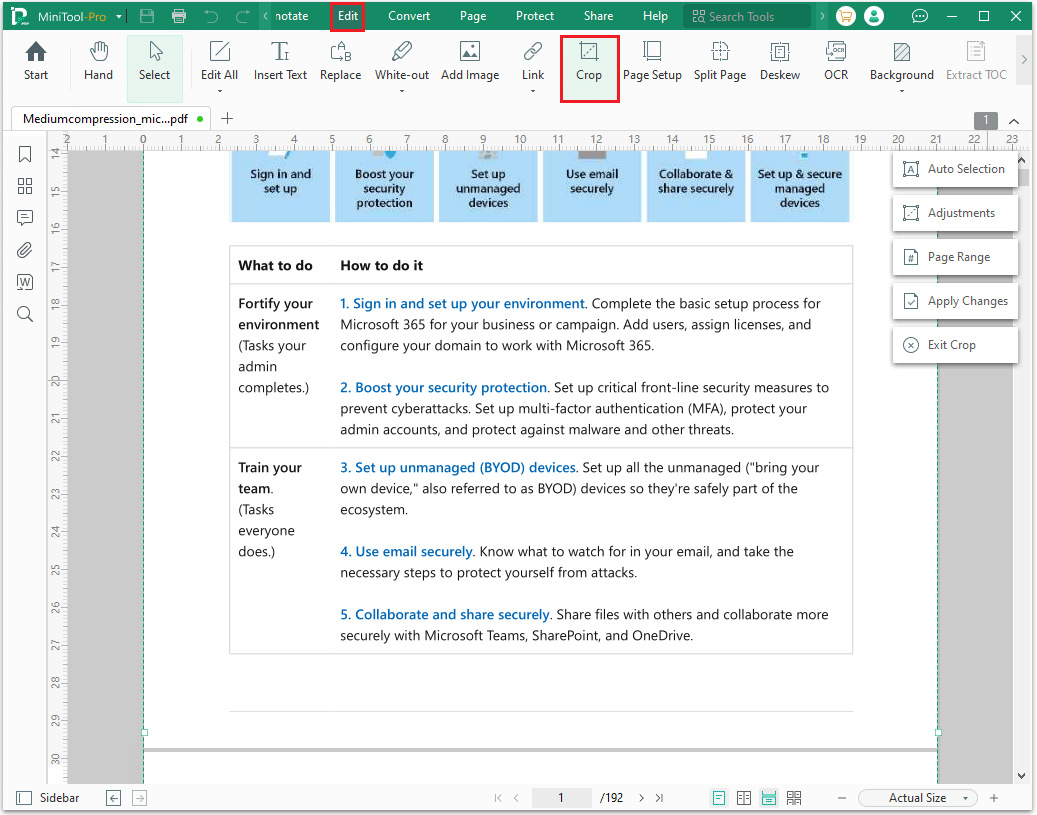
Step 1: Launch MiniTool PDF Editor, and then go to Edit > Crop. After that, a cropping box will appear.
- Auto Selection: It allows you to crop PDFs automatically or manually by moving and adjusting the crop box.
- Adjustments: Modifying the margins of the PDF.
- Page Range: If you need to crop multiple PDF pages using the same margins as the current page, select this option to choose which pages to apply the crop to.
- Apply Changes: Saving the pending changes.
- Exit Crop: Exit the cropping function.
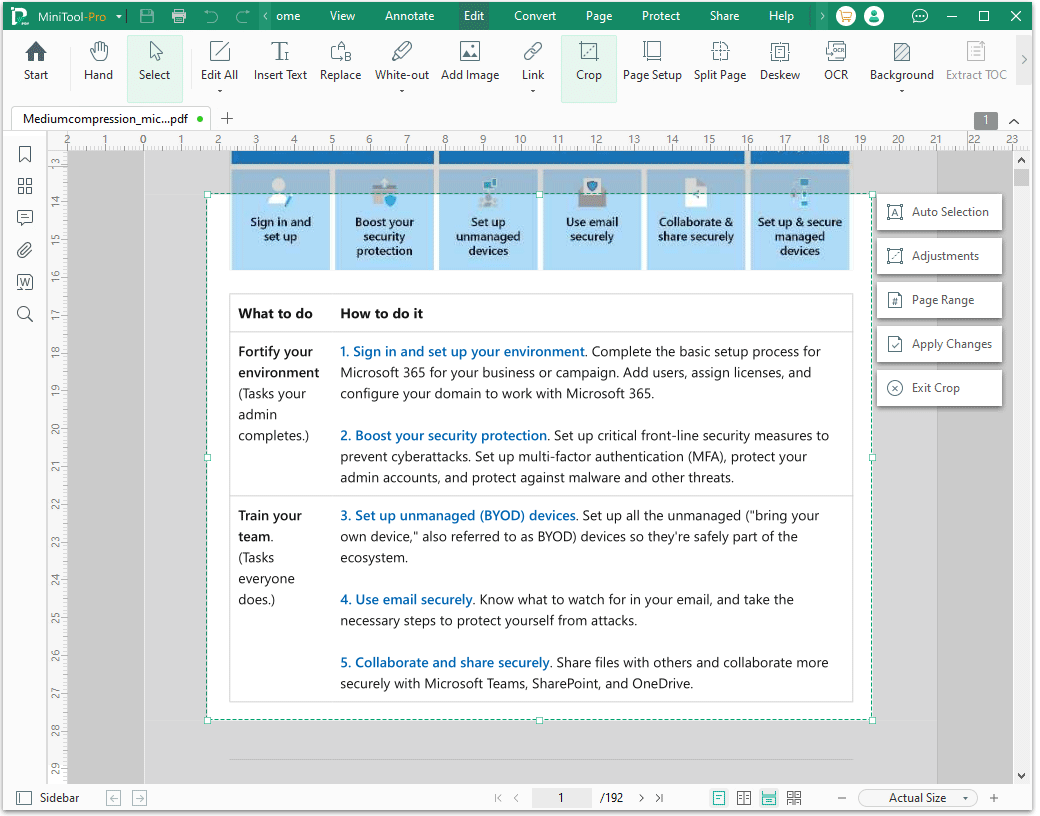
Step 2: Now, you can adjust the area you want to print and click Apply Changes to continue.
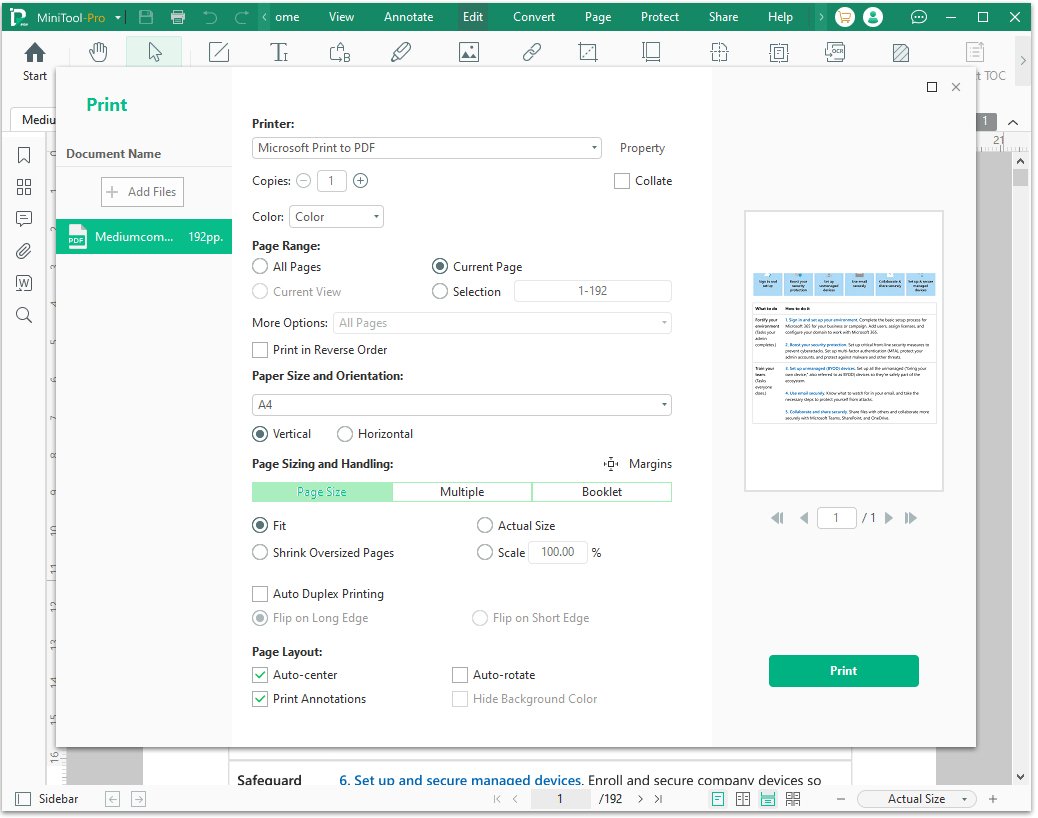
Step 3: Select the Print button in the top-left corner, verify the Printer, Page Range, and other settings, and then click Print to proceed.
Option 2: Use the Screenshot Feature
This software also has a Snapshot feature. With it, you can take a PDF screenshot easily, and then print selected area in PDF
Here are the steps:
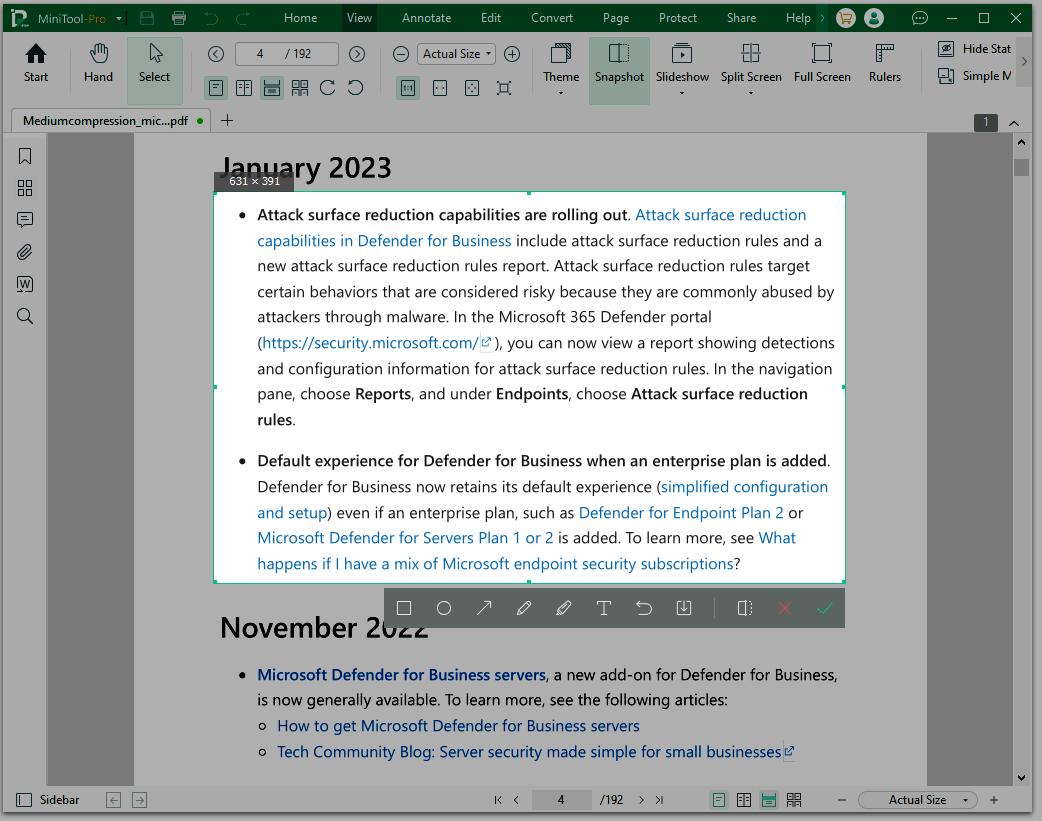
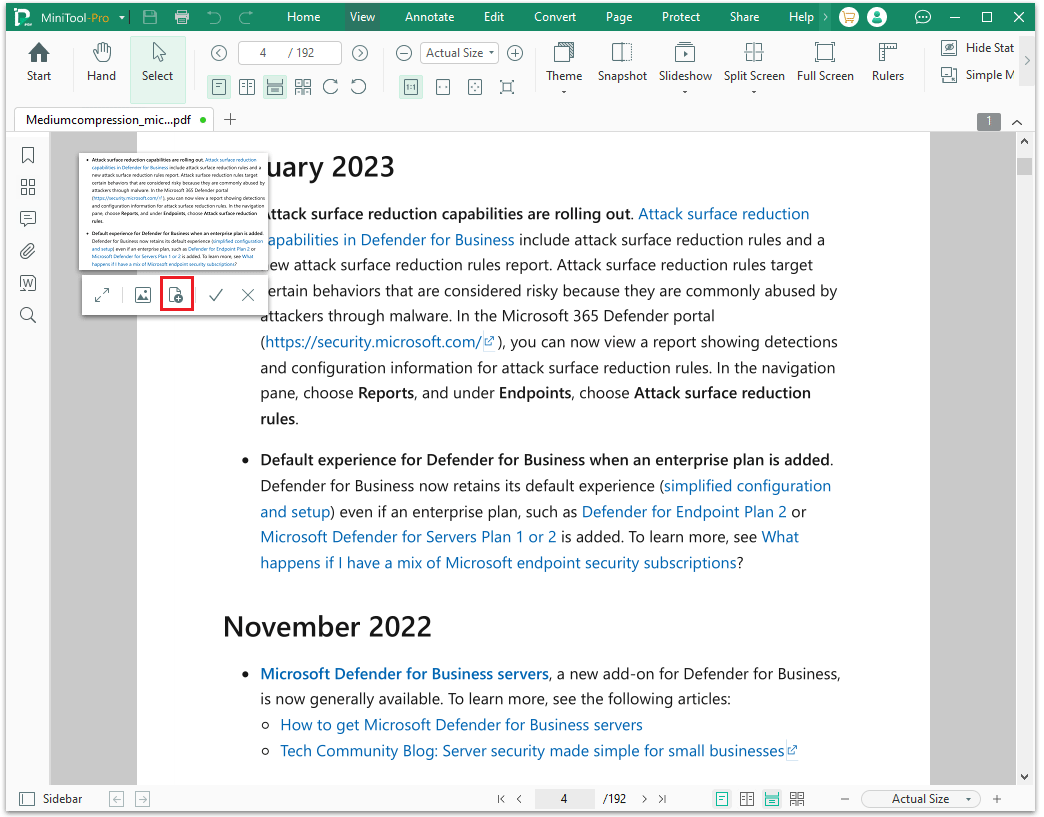
Step 1: Click View from the top and choose the Snapshot option. You can also press Alt + S to enable the PDF snapshot feature.
Step 2: Select the desired area and edit it.
- Use the cursor to select the area of the PDF you want to capture.
- If you want to edit the PDF screenshot, use the tools displayed below it, including: Rectangle, Oval, Arrow, Pencil, Highlighter, and Insert Text.
- After that, select the checkmark icon to copy to the clipboard.
Step 3: Click Save as PDF icon.
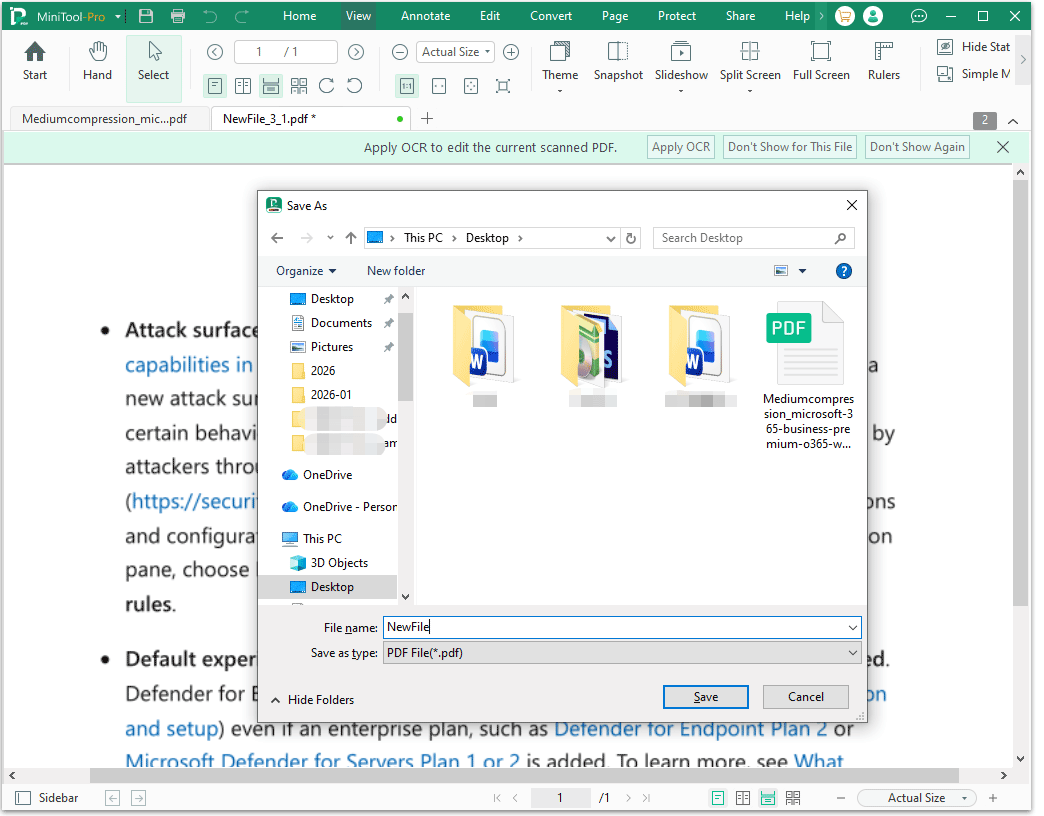
Step 4: Once the new file opens, click the Print button. The Save as window will pop up. Click Save to continue.
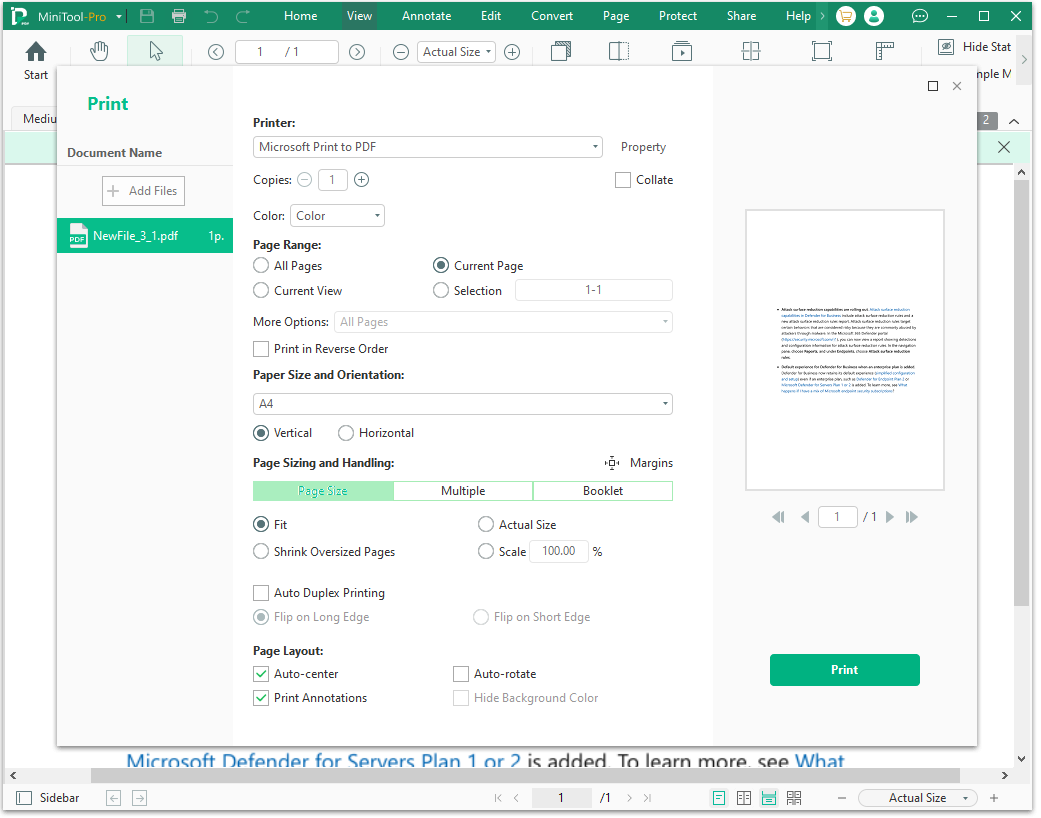
Step 5: Modify the settings according to your needs. When it’s saved, click the Print option.
Method 2: Adobe Acrobat
Adobe Acrobat is a popular PDF editing software used to view, create, edit, annotate, split, merge, and share PDF documents.
In addition, its screenshot feature helps you select and print specific portions of a page. Here’s how to print a specific area using Adobe Acrobat in PDF:
Step 1: Launch Adobe Acrobat to its main interface and click Open file to open a PDF file.
Step 2: Click Menu > Undo, Redo & more > Take a snapshot.
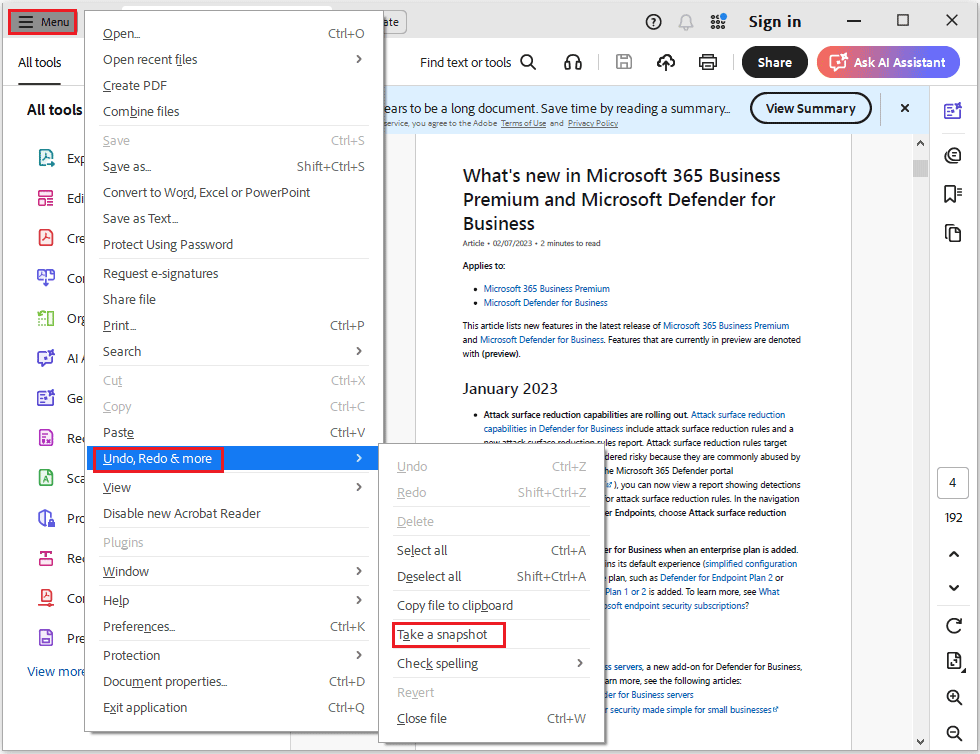
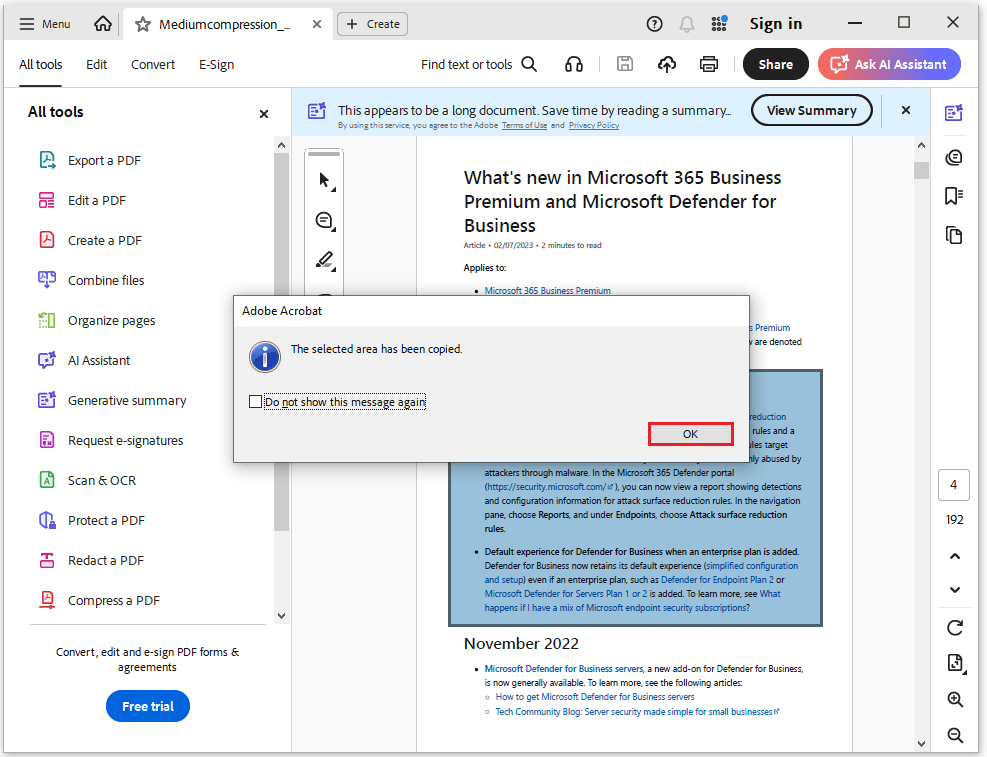
Step 3: Use your mouse to draw a box to select the content you want to print. After releasing the mouse button, Acrobat will display a message: “The selected area has been copied.” Click OK to move on.
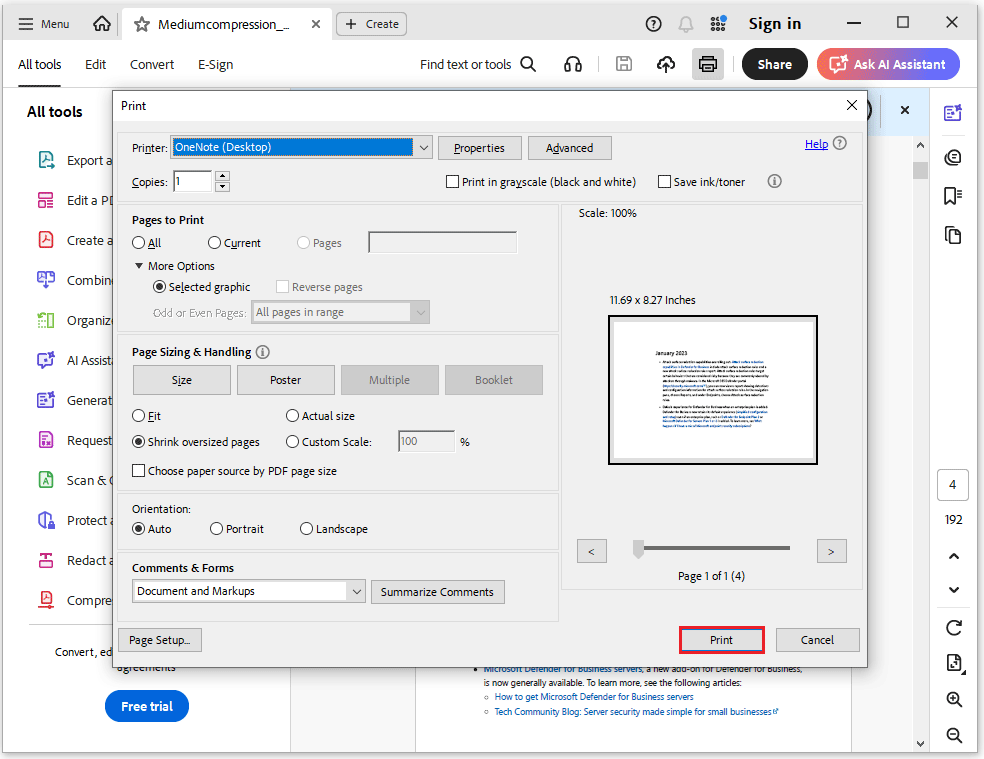
Step 4: Click the Print icon to open the print interface and click Print.
Method 3: Via Online Tools
What if you don’t want to install a desktop application? How to print a selected area in PDF online?
Most modern browsers, such as Chrome and Microsoft Edge, come with built-in PDF viewers. You can open a PDF in your browser, take a screenshot of the area you want to print, and then print it.
The steps are outlined below.
- Right-click the PDF > Choose Open with >Google Chrome.
- Press Windows + Shift + S to take a snapshot. A screenshot will then appear in the lower right corner.
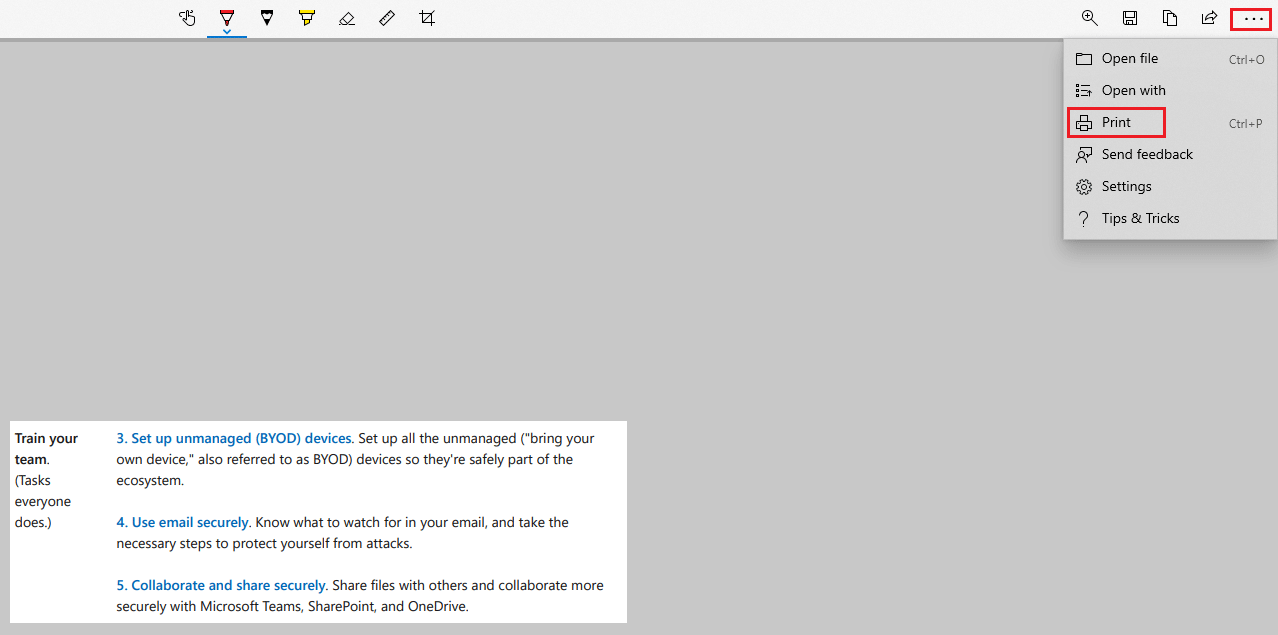
- Click the screenshot, and a new window will pop up, and then choose the three-dot icon and select Print to print the screenshot.
Bottom Line
This article tells you how to print a selected area in PDF, including MiniTool PDF Editor, Adobe, and online tools. If you have any questions while using the MiniTool PDF Editor, contact us via [email protected].
About The Author

Position: Columnist
Cecilia has been an editor at MiniTool for two years. She primarily focuses on disk and partition-related content, with particular expertise in disk cloning, partition recovery, and PDF document conversion. She is dedicated to providing users with clear and accurate solutions to help them efficiently resolve common computer problems.