When to Insert a Photo in a Resume?
A photo in a resume is an important visual element. When used properly, it can leave a more lasting first impression.
So, when should you include a photo in your resume?
- Industry requirements: When applying for jobs that value personal image, such as modeling, acting, entertainment, or television broadcasting, a photo is standard.
- Cultural norms: In many European and Asian countries, including a photo is a common practice.
- Explicit requirements: If the job posting explicitly requires a professional headshot, you should provide one.
Note that in the US, Canada, and the UK, including photos in resumes is generally discouraged for anti-discrimination reasons, especially for positions in corporations, law, healthcare, and government.
If you determine that a photo should be included in your resume, follow these practical tips:
- Headshot only: The photo should be a professional headshot, clearly showing your head and shoulders.
- Neutral background: Choose a plain white or light-colored background to avoid any distracting or cluttered elements.
- Appropriate attire: Wear clothing appropriate for the industry you are applying to.
- High-quality images only: Images should be high-resolution. Avoid blurry, poorly lit, or pixelated photos.
- Follow the correct format and size: Passport size (35x45 mm) is recommended.
- Recent photos: The photos should have been taken within the last 1-2 years.
Generally, Word and PDF resumes are more commonly used. Well, how to insert a photo in a resume in PDF/Word? Continue to read the detailed steps.
How to Insert a Photo in a PDF Resume?
Most companies prefer PDF resumes because this format is consistent across different devices. However, if you want to insert a photo into a PDF resume, you need a professional PDF editor.
MiniTool PDF Editor is such a tool that can easily edit resumes in PDF. Whether you want to add a photo, insert links, edit sentences, edit images in PDF, or add backgrounds, it's perfectly fine.
MiniTool PDF EditorClick to Download100%Clean & Safe
Now, follow the steps to add a photo in a resume with MiniTool PDF Editor.
Step 1. Download and install this software on your computer. Right-click your PDF resume and choose Open with > MiniTool PDF Editor.
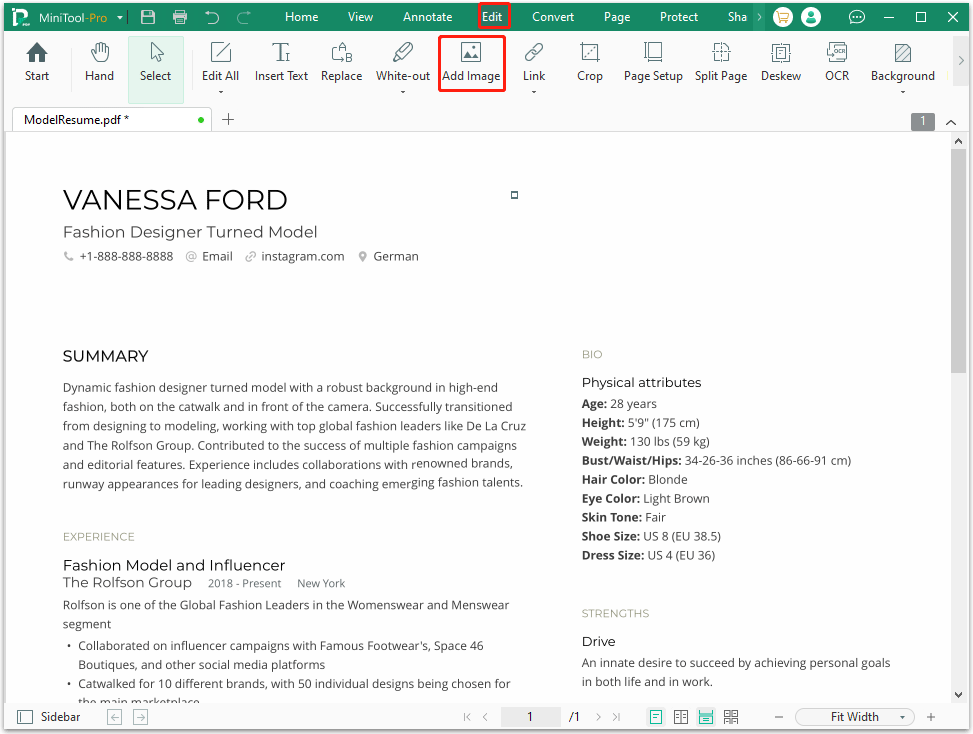
Step 2. Once the PDF resume opens, click the Edit tab and choose Add Image.
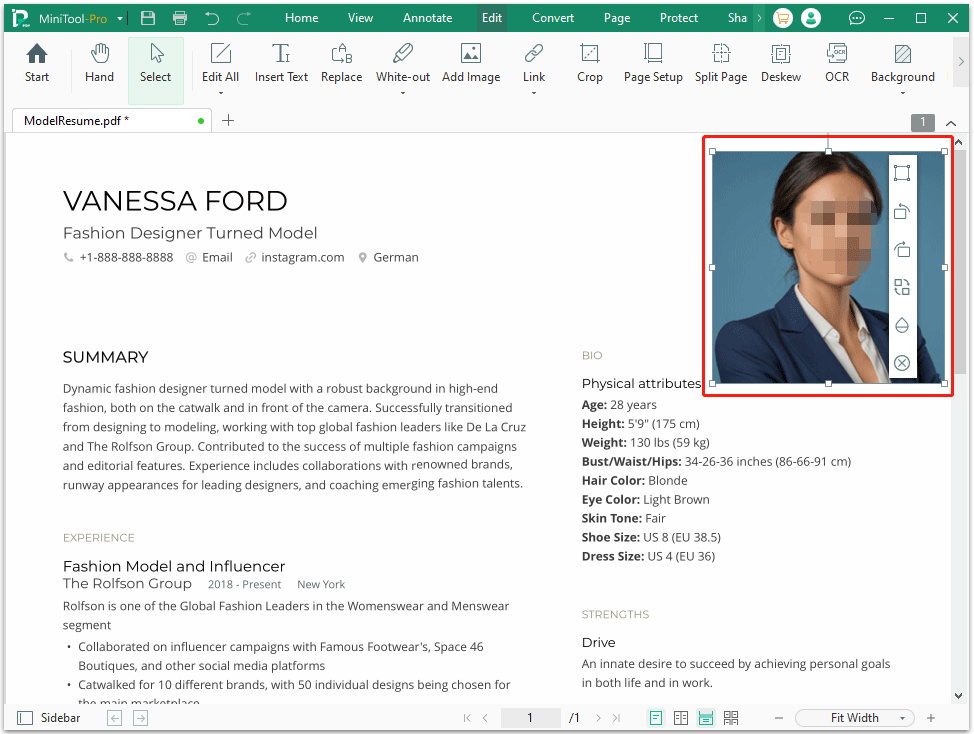
Step 3. In the pop-up window, select the photo you want to insert. Then place the photo in the ideal place, like the upper left or right corner.
Step 4. After inserting the desired picture, simply drag its edges to make adjustments to the size. Or, you can adjust some settings, like location and transparency. To change the photo to another, choose the Replace Image icon.
Step 5. Finally, click the Save button.
How to Insert a Photo in a Word Resume?
Some users create their resumes using Microsoft Word. Adding photos to a Word document is easy. However, adding images can cause text shifting.
Here's how to insert a photo in a Word resume using Microsoft Word.
- Open your Word resume in Microsoft Word.
- Place your cursor in the area where you want the photo.
- Go to the Insert tab on the top toolbar, click Pictures > This Device, and select your photo.
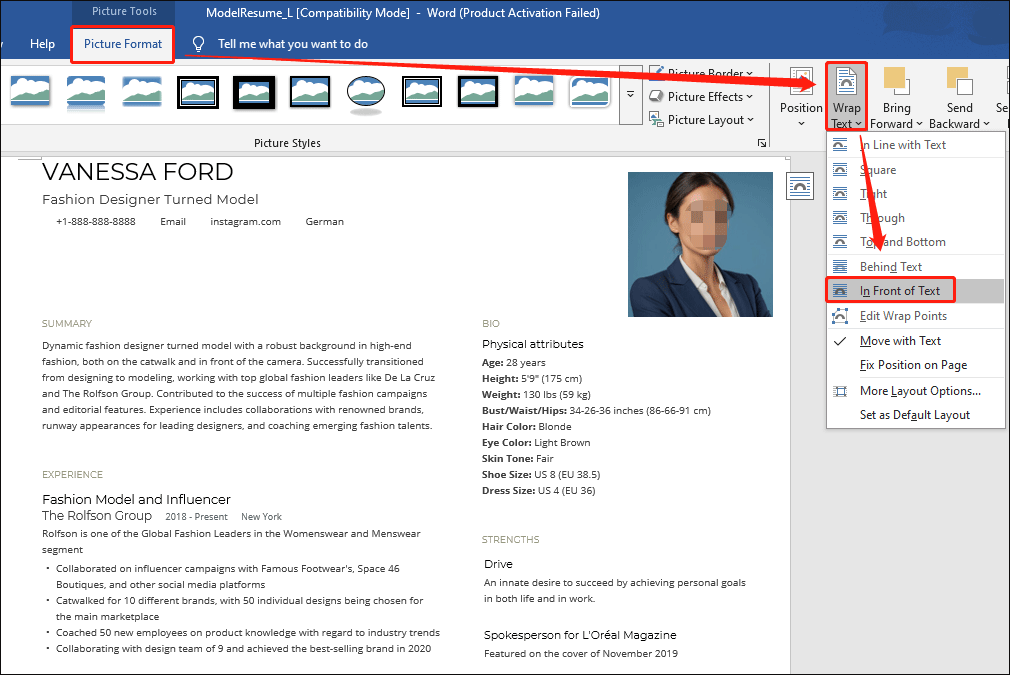
- To adjust the photo, click Picture Format > Wrap Text > In Front of Text.
- Then you can adjust the photo to the preferred location and size.
Insert a Photo in a Resume FAQ
1. Launch MiniTool PDF Editor to enter its main interface.
2. Go to the Convert tab.
3. Choose Office to PDF.
4. On the conversion window, click Add Files and select the resume file to open.
5. Click Start and wait for the conversion to complete.
Bottom Line
A well-chosen photo in a resume can enhance your professional image. This post analyzes when to insert a photo in a resume and shows you how to insert a photo in a resume in PDF/Word.
If you encounter issues when using MiniTool PDF Editor, contact us by sending an email to [email protected]. We’ll get back to you as soon as possible.
About The Author

Position: Columnist
Vega enjoys helping people with computer problems, including disk management, data recovery, data bacckup, and more. She is constantly expanding her knowledge in related fields. And she will continue to bring more easy-to-understand professional articles to help people solve various problems on the PC.